Grow Your Own Fire: How to Raise Chili Peppers at Home and Never Run Out of Heat Again
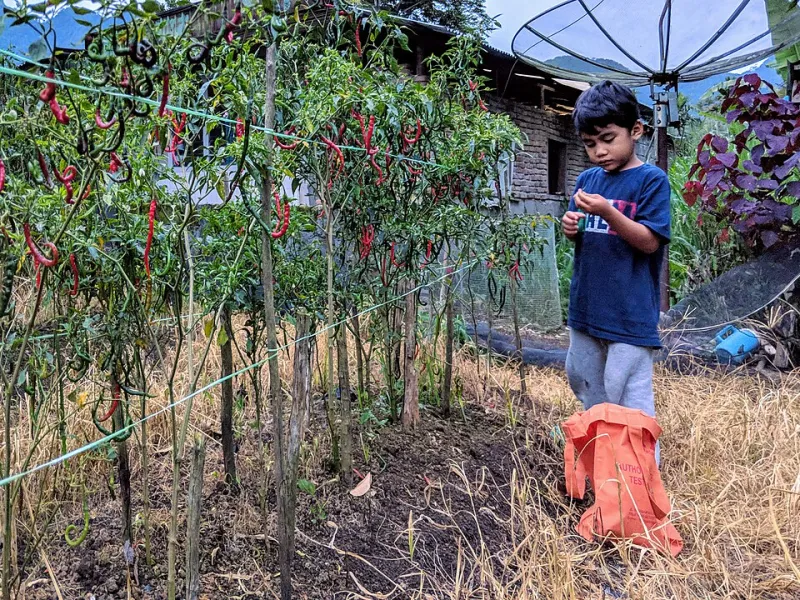
Photo: LegolasSendok34, CC BY-SA 4.0, via Wikimedia Commons
Let's be honest — buying chili peppers from the grocery store gets old fast. The selection is limited, the quality varies wildly by season, and if you're the kind of person who goes through habaneros the way most people go through table salt, the cost adds up. Growing your own peppers fixes all of that. And beyond the practical benefits, there's a kind of primal satisfaction in biting into something you raised yourself from a tiny seed. It hits different.
The best part? You don't need a farm. You don't even need a yard. What you need is some patience, a little know-how, and the right setup for wherever you live. Here's how to make it happen.
Why Pepper Growing Is Having a Moment
Home gardening exploded during the pandemic, and chili pepper cultivation has quietly become one of the hobby's most passionate subcultures. Online communities dedicated to growing superhots have tens of thousands of members swapping seeds, comparing harvests, and troubleshooting plant problems at midnight. Seed companies that specialize in rare and exotic pepper varieties have seen demand surge year over year.
And it makes sense. For food enthusiasts who care deeply about what goes into their cooking, growing your own peppers is the ultimate expression of that commitment. You control the variety, the growing conditions, and the harvest timing. You can grow peppers that simply don't exist in any grocery store in America — rare Peruvian ají varieties, obscure Caribbean landraces, or the latest superhot hybrids fresh out of a pepper breeder's greenhouse.
Picking Your First Varieties: Start Smart
If you're brand new to this, resist the urge to immediately grow Carolina Reapers. Start with varieties that are forgiving, fast-producing, and genuinely useful in everyday cooking.
Best beginner varieties:
- Jalapeño (Early Jalapeño specifically): Fast-maturing, reliable, and incredibly versatile in the kitchen. You'll get fruit in about 65–70 days from transplant.
- Cayenne: Prolific producers that thrive in most US climates. Great for drying and making your own cayenne powder.
- Serrano: Slightly more heat than jalapeños, similar ease of growing. Excellent fresh salsa pepper.
- Shishito: Technically mild with the occasional hot surprise, these are easy to grow and wildly popular right now in restaurants and home kitchens alike.
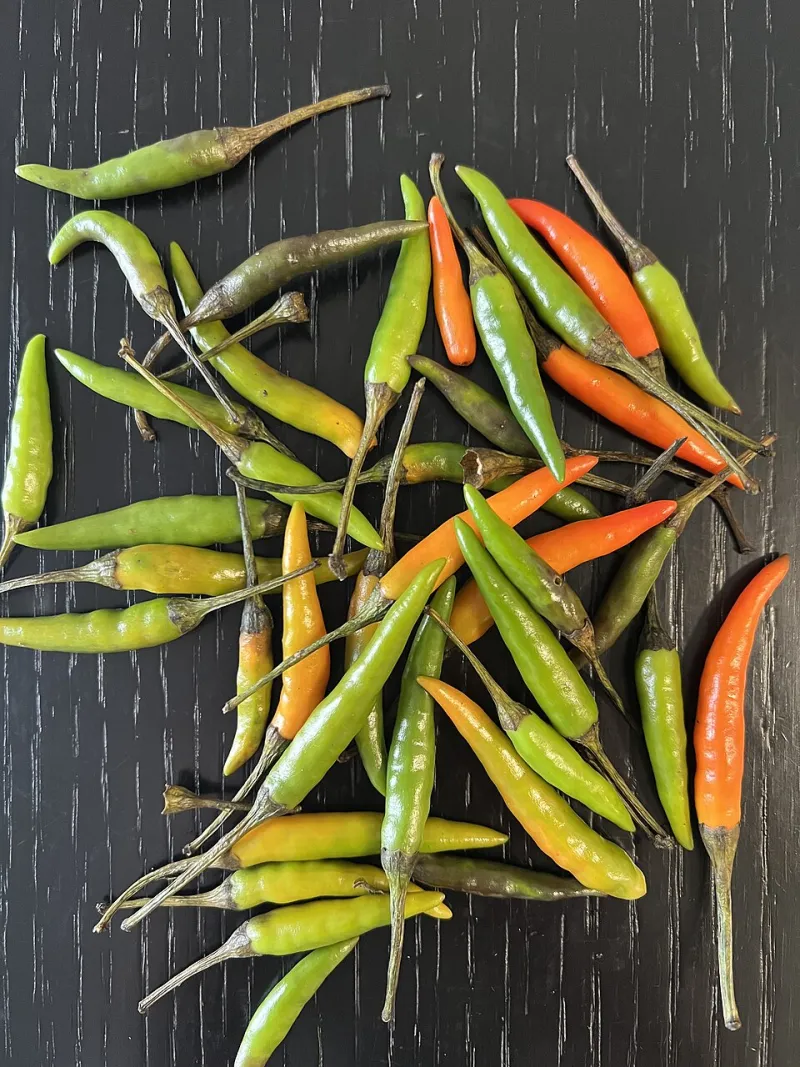
- Thai Hot: Compact plants that absolutely explode with small, fiery fruits. Perfect for container growing.
Once you've got a season or two under your belt, you can graduate to habaneros, ghost peppers, and beyond. But don't skip the fundamentals.
Understanding US Climate Zones and What They Mean for You
Chili peppers are warm-weather crops that love heat and sunshine — fitting, right? They thrive in USDA Hardiness Zones 8–11 (think California, Texas, Florida, the Gulf Coast), but with some planning, gardeners in colder northern states can absolutely grow peppers successfully.
Sun Belt states (Zones 8–11): You've got it easy. Long growing seasons, warm nights, and plenty of sun mean you can start seeds outdoors relatively early and grow nearly any variety, including slow-maturing superhots like ghost peppers and reapers.
Mid-Atlantic and Midwest (Zones 6–7): Start seeds indoors 10–12 weeks before your last frost date. Use transplants rather than direct sowing. Stick to faster-maturing varieties unless you're committed to season extension techniques.
Northern states and Pacific Northwest (Zones 4–5): It's a challenge, but it's doable. Focus on fast-maturing varieties, use raised beds or containers that warm up quickly, and consider a greenhouse or cold frame to extend your season on both ends.
Not sure what zone you're in? The USDA Plant Hardiness Zone Map is free online and searchable by zip code.
Soil, Containers, and Setup
Peppers are not fussy about soil, but they do have preferences. They want well-draining, slightly acidic soil with a pH between 6.0 and 6.8. Heavy clay soils are their enemy — waterlogged roots will kill a pepper plant faster than almost anything else.
If you're gardening in the ground, amend heavy soil with compost and perlite before planting. If you're going the container route (totally valid, especially for apartment gardeners), use a high-quality potting mix — not garden soil — and choose containers at least 5 gallons in size for most varieties. Larger is better for bigger plants like habaneros.
For fertilizing, peppers are moderate feeders. A balanced fertilizer (10-10-10) at planting, followed by a switch to a lower-nitrogen formula once flowers appear, will keep your plants healthy without pushing too much leafy growth at the expense of fruit.
The Realistic Timeline
Here's what to expect from seed to harvest:
- Weeks 1–2: Seeds germinate (peppers are slow — don't panic if it takes 10–14 days, or longer for superhots)
- Weeks 3–10: Seedling development indoors under grow lights or in a sunny south-facing window
- Week 10–12: Harden off seedlings by gradually exposing them to outdoor conditions over 7–10 days
- Week 12–14: Transplant outdoors after last frost date
- Weeks 14–20+: Flowering and fruit development
- Weeks 18–26+: First harvest (varies significantly by variety)
Superhots like ghost peppers and Carolina Reapers can take 150 days or more from transplant to ripe fruit. Plan accordingly.
Common Pests and How to Handle Them
Peppers are relatively pest-resistant compared to other garden vegetables, but they're not immune.
Aphids: Tiny, soft-bodied insects that cluster on new growth. A strong spray of water knocks most of them off. Insecticidal soap handles persistent infestations.
Spider mites: Thrive in hot, dry conditions. Look for fine webbing on the undersides of leaves. Increase humidity around plants and use neem oil spray.
Pepper weevils: More common in the South. Small beetles that bore into fruit. Handpick and destroy affected fruit; use row covers as a preventive measure.
Bacterial spot: Not a pest, but worth mentioning — this common disease causes dark, water-soaked lesions on leaves. Avoid overhead watering and ensure good air circulation between plants.
Harvest Time: How to Know When to Pick
This is where a lot of beginners trip up. Most chili peppers go through a color change as they ripen — green to red, orange, yellow, or brown, depending on the variety. Fully ripe peppers are sweeter and more flavorful, but also hotter in many cases, as capsaicin concentrations increase with ripeness.
You can harvest peppers at any stage, and picking regularly actually encourages the plant to produce more fruit. Use clean scissors or pruning shears rather than pulling, which can damage the plant.
For drying, wait until peppers are fully ripe. For fresh use, harvest whenever they've reached your preferred flavor and heat level.
The Real Payoff
After your first successful harvest — even if it's just a dozen jalapeños from a container on your apartment balcony — something shifts. You start looking at your cooking differently. You start thinking about next season before this one is even over. You find yourself browsing rare pepper seed catalogs at 11pm on a Tuesday.
Welcome to the obsession. It's warm in here, and we wouldn't have it any other way.